

Bell sleeves are probably the most gorgeous sleeves. They are elegant, old-worldly, and surprisingly easy to sew. So in this tutorial, I will teach you how to draft the pattern and sew bell sleeves!
Here is a video for extra help:
What You Will Need:
Pattern paper
General drawing equipment
Approx. 0.5m of fabric
General Sewing equipment
Measurements You Will Need:
Shoulder circumference
Bicep
Elbow
Shoulder to elbow
Shoulder to bicep
Elbow to wrist

Method:
Creating the Pattern:
Firstly we must draft a basic sleeve pattern for your upper arm...
On your pattern paper, draw a line measuring your shoulder to elbow. Note: I dislike my bell sleeves sitting directly on my elbow, so I generally subtract 1 " from this measurement.

From the top of this line mark your shoulder to bicep measurement.

On this mark draw a line of your bicep, with equal measurements on either side of the line.

At the bottom of your line, draw a line of your elbow in the same way.

Connect your bicep and elbow lines together on either side.

On one side of your bicep line, make a mark of your bicep measurement divided by 8 (A).

Mark on the other side of your bicep line A divided by 2 (B).

At the top of your line draw a horizontal line (of any length).
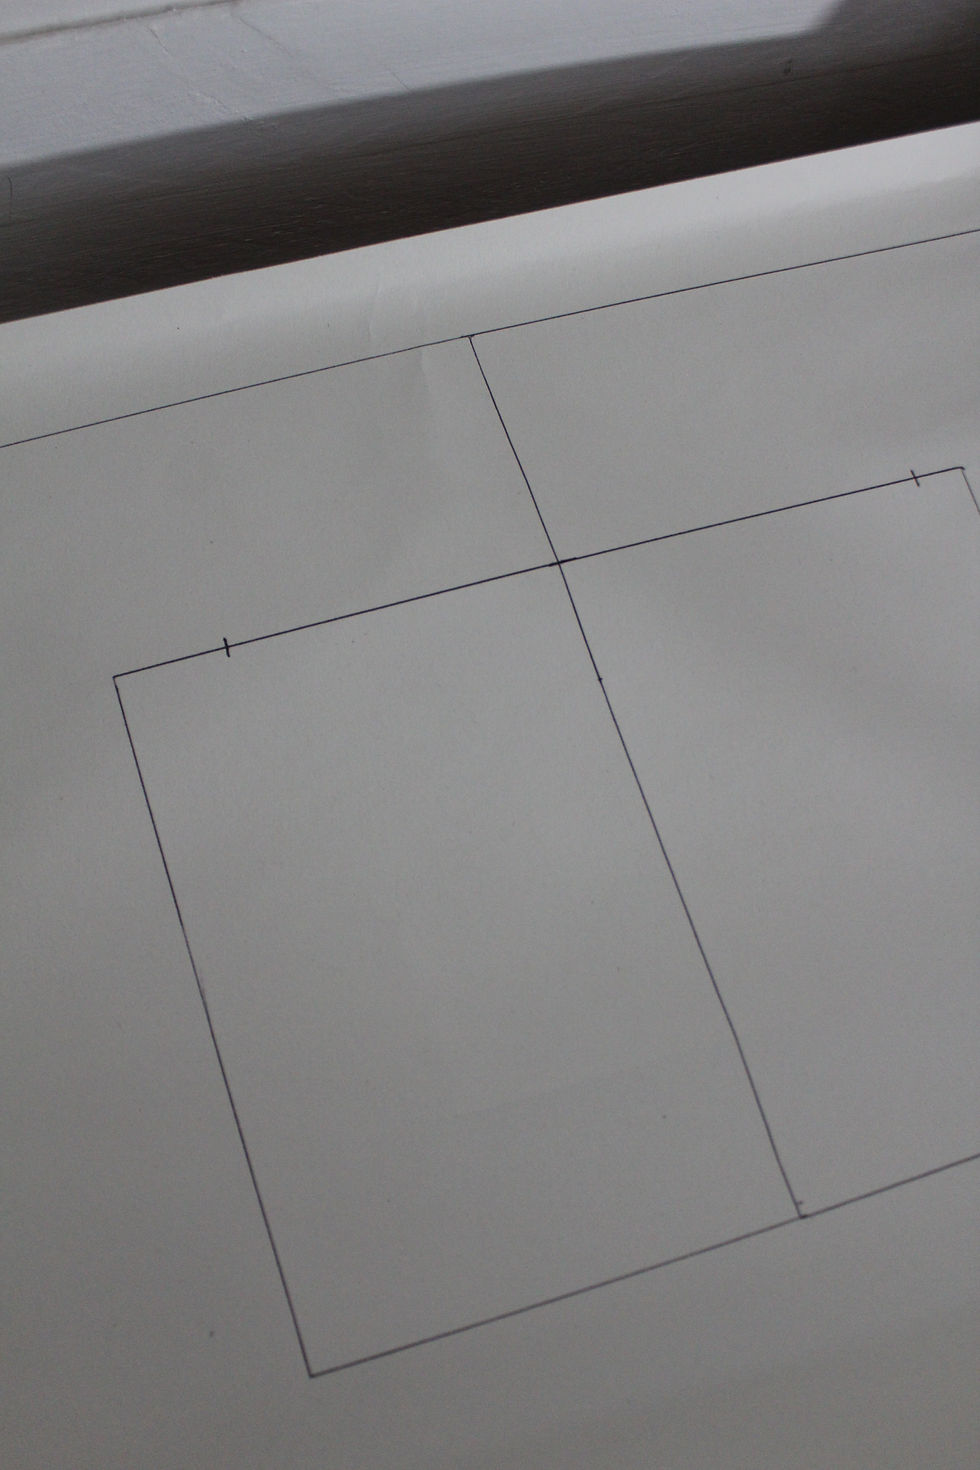
On the top line mark A plus B divided by 2 (C) on either side.

Connect the marks on either side.

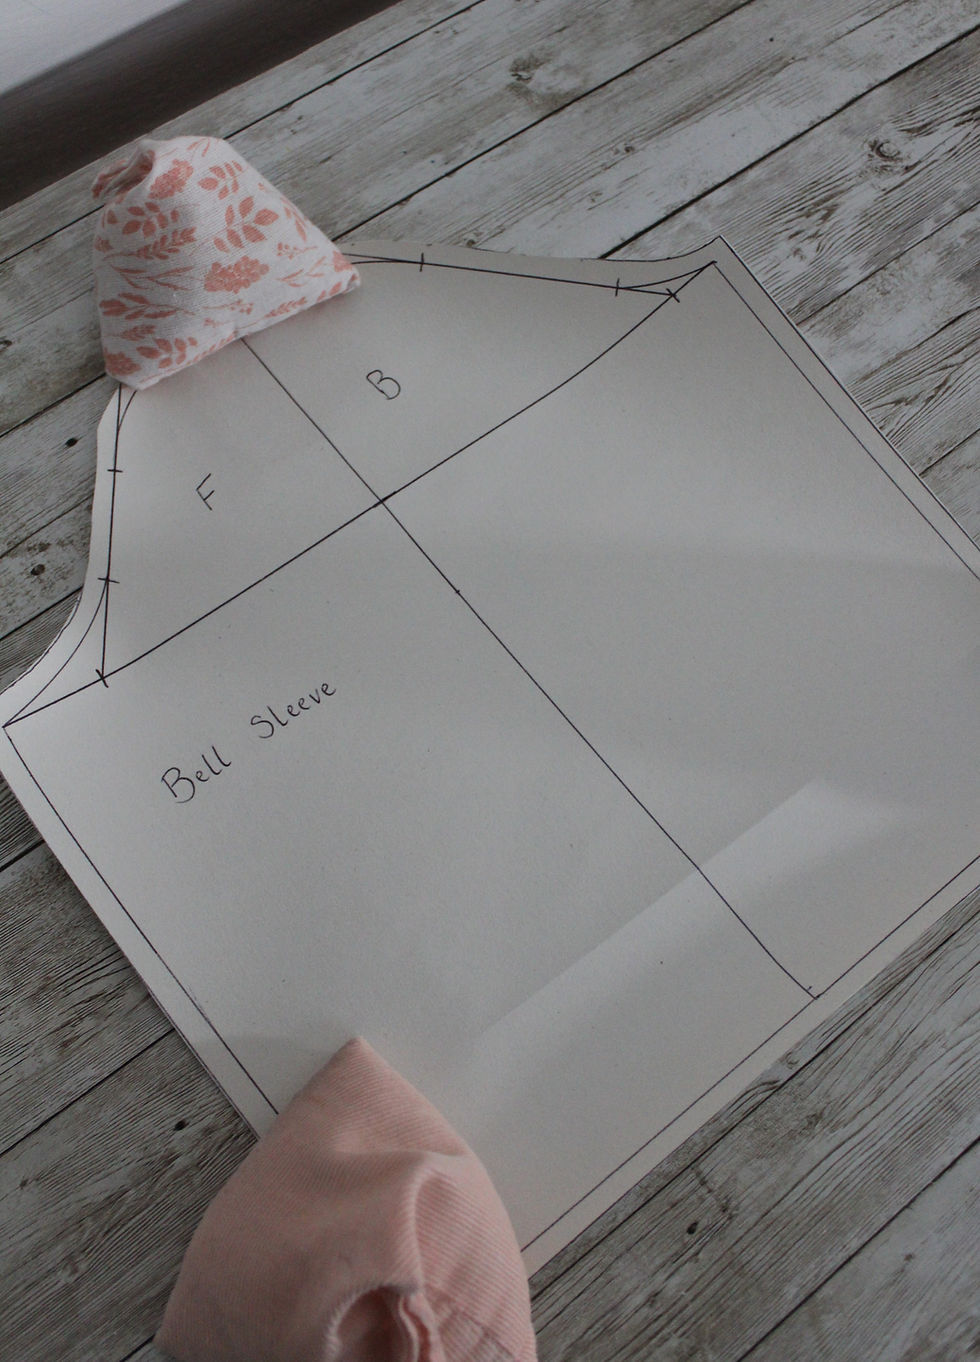
On these two diagonal lines, mark C on either side from the top.

At each corner, measure the distance between the end and the diagonal line, then mark that length on either diagonal line starting from the bottom.

Using a curved ruler, connect each mark with a curve.

Now you can add 1/4" of seam allowance around the entire pattern.

Tip: If you are going to be using non-stretch fabric for your sleeves, I would advise adding about 1/4" to all sides for extra room for movement.
Cut out your pattern.
Note: The side with the deeper curve is the front of the sleeve, and the smaller side is the back.
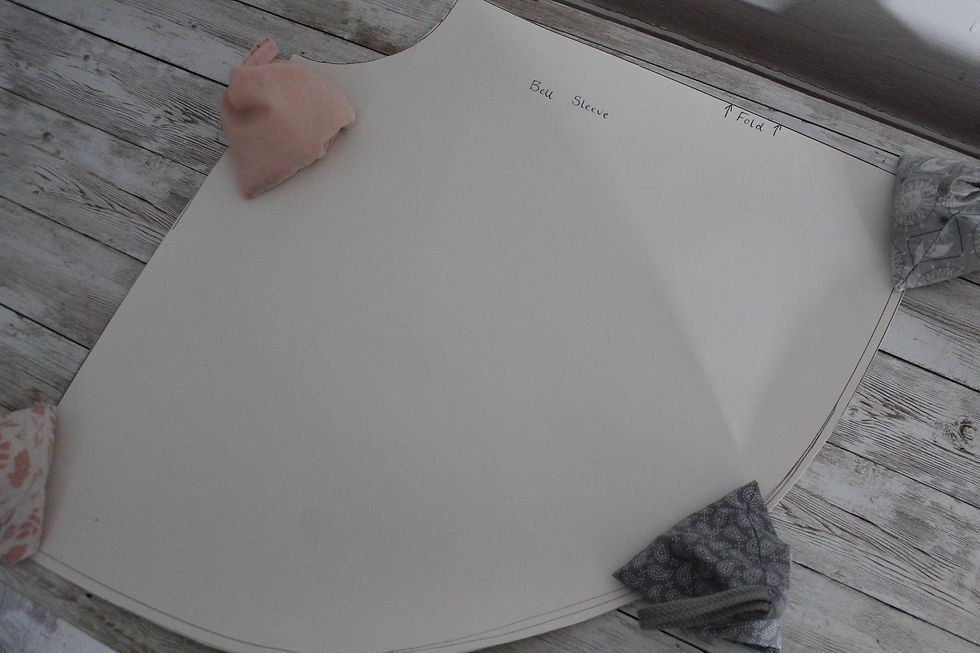
Now it is time to make the 'bell' part of the sleeve...
Take your elbow measurement and divide it by pi (π).
Starting at the corner of your paper, mark that measurement.

Keeping the beginning of your measuring tape in that corner, slowly turn the rest of it around. Making marks at intervals.

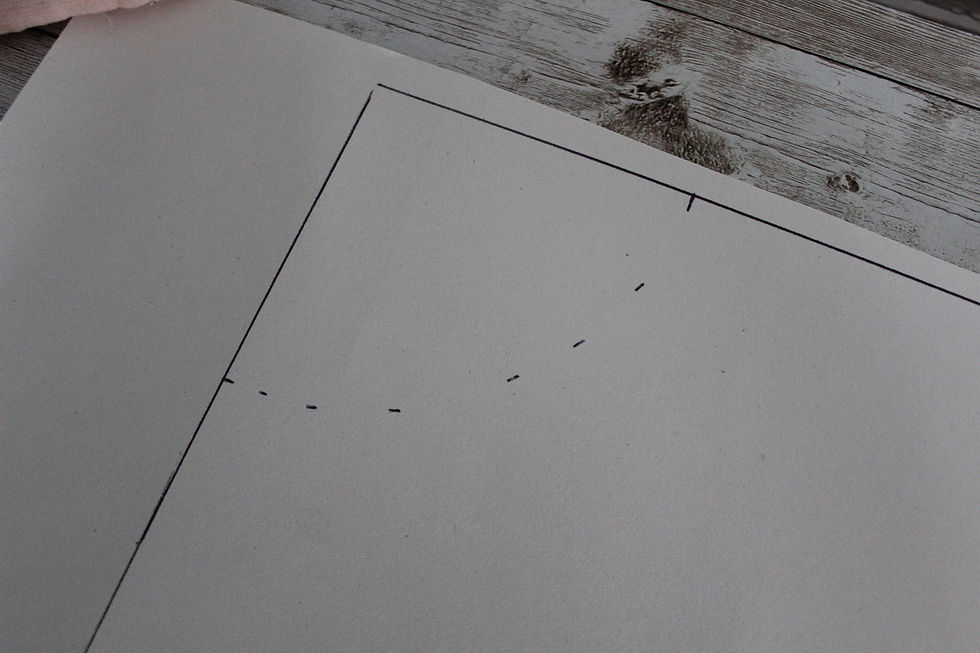
Connect the marks.

From this curve, mark at the top your elbow to wrist measurement.
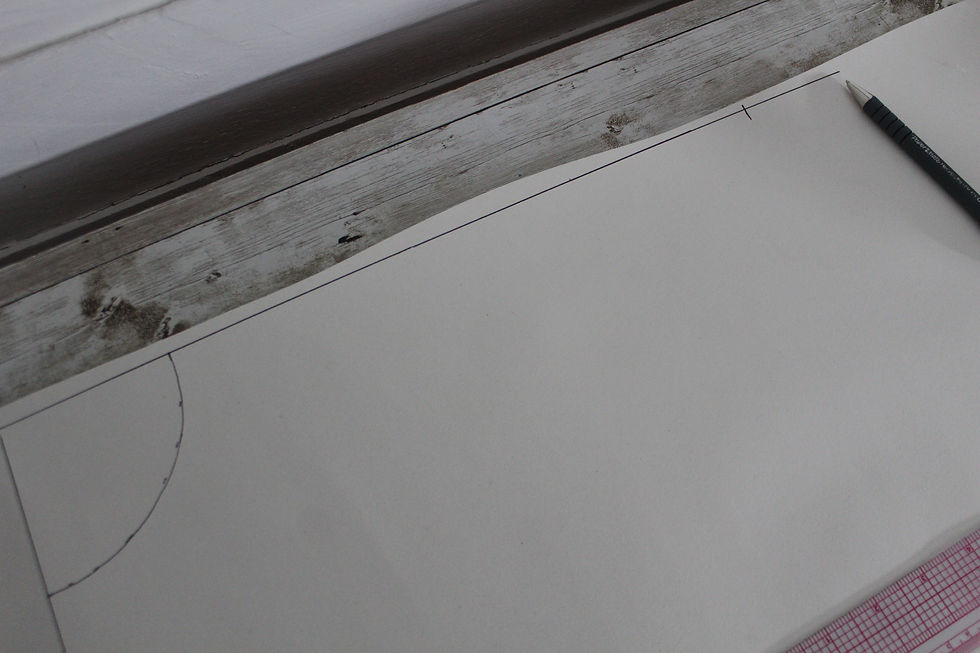
At the other end of the curve, mark your elbow to wrist measurement plus 8".

Using a curved ruler, or by eyeing it, connect these two marks in a curved shape.

Add a 1/4" seam allowance to the bottom edge.

Cut out your pattern piece.
Note: Mark on the shortest side that you will be placing it on the fold of the fabric when you cut it out.
Sewing the bell sleeve:
Cut out two of each pattern out of fabric.

Fold all four pattern pieces right sides together and sew them in place.

Turn the two upper arm pieces' right sides out.

Place one of each inside the other pieces, matching the seams.

Sew them closed.
Turn right sides out.

Hem the bottom edges.
Now they are ready to add to any garment!
Comments